New Configuration - Custom Field Management
The Custom Field Management section of AdviceOS allows you to create customised fields within certain areas of AdviceOS that may be relevant or specific to your Practice or Dealergroup. This is generally information that you want to capture about your clients, tasks, SOAs or users, but that aren’t readily available within the standard fields that Midwinter offers.
There are
three key areas on the main page of Custom Field Management, and we will go
into detail of the functionality for each area below. These include:
- Dropdown options to navigate between the different
areas of AdviceOS you can create custom fields, and at the Licensee or Practice
level.
- The ability to edit any existing custom fields
- The ability to create new sections and new
custom fields within these sections
Types of Custom Fields
There are 4 types of custom field that can be created, and these will directly impact the area of AdviceOS that the custom field will be available. These can then be created at the Licensee level or Practice level, depending on who you want to have access to the fields (ie fields created at the Licensee level will be available to all users in the Licensee, while Practice level will be available only to those in your Practice).
The four
types are:
- Client
- Task
- SOA
- User

Custom
Fields – Client
Any custom fields that are created under the ‘Client’ type will then be available in the following location of AdviceOS:
- Client
> Fact Find > Custom Fields
These custom fields will allow a user to track relevant information about their client in Fact Find, and if desired use minicodes to include these fields into any Fact Find report.
- Keeping track of a clients hobbies, how they like their tea or coffee, or any other interesting information that may assist with a personal rapport prior to a meeting.
- These are examples of custom fields that you likely would not include in the reverse fact find, but are useful to have readily available in AdviceOS
- Notes from the last meeting, advice that is considered into the future, last fact find date, or other relevant information specific to your Practice or Licensee.
- These could be included as a minicode in the reverse fact find if required.
Custom
Fields – Task
Any custom
fields that are created under the ‘Task’ type will then be available in the
following location of AdviceOS:
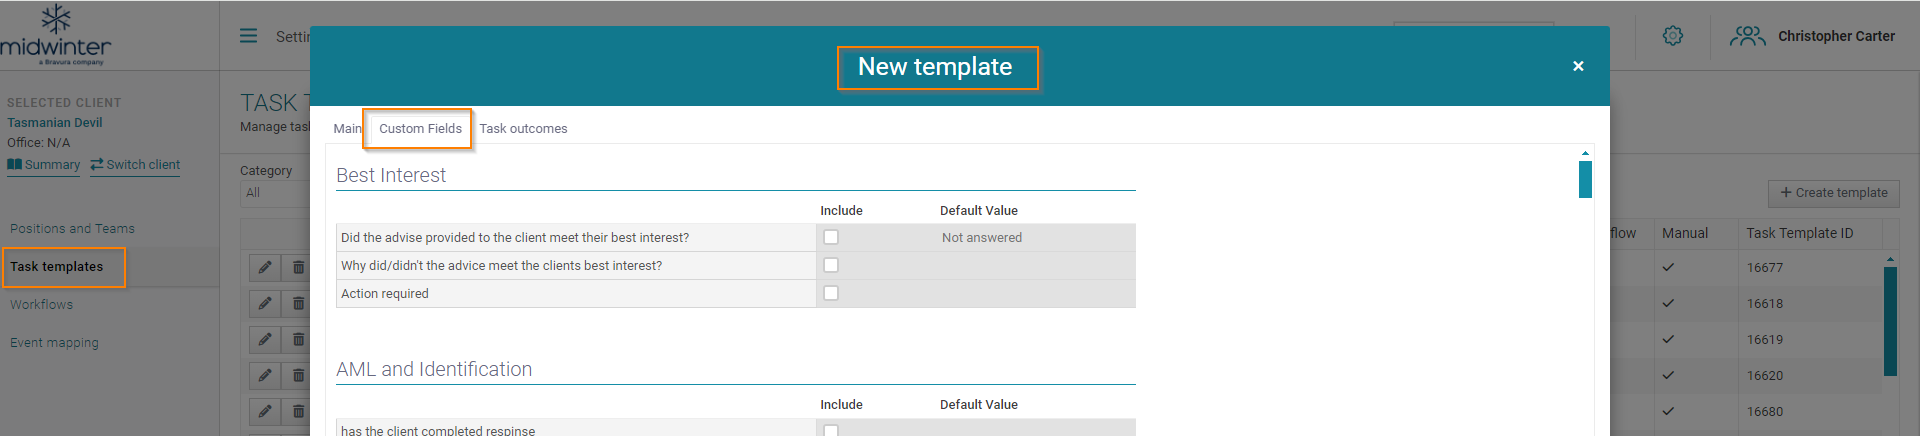
- Settings
> Task and Workflow Configuration > Task templates
These
custom fields can directly impact task templates. A user can add them within a
task template so that their staff can update or action these fields within
tasks for a client.
- Did you get the clients AML and Identification during the sign up meeting
- Did you book in the review meeting for next year
- When calling the clients investment products using the TPA, did you collect information on X, Y, Z
Custom
Fields – SOA
Any custom fields that are created under the ‘SOA’ type will then be available in the following location of AdviceOS:
- Modelling
> Planbuilder > Build Advice > Advice information
These
custom fields can be used as a checklist for your advisers when producing
advice documents for clients, specifically around the scope of advice and any
relevant information regarding the advice documents.
Custom
Fields - User
Any custom fields that are created under the ‘User’ type will then be available in the following location of AdviceOS:
Licensee management > User administration > Custom user information
These
custom fields can be used to capture specific information about users within
your Licensee or Practice.
Creating a new Custom Field
Owner
Manage Sections
Add Custom Field
Determining the Type of Custom Field
- Short Text
- A short text box allowing the user to input any text
- Long Text
- A longer text box allowing the user to input any text
- Number
- A text box restricted to only numbers
- Currency
- A text box referring to currency
- Choice
- A dropdown with specific choices available
- Date
- A calendar allowing the user to select any date
- Checkbox
- A single tick box
- Selection
- A selection of a number of tick box options
Creating your Custom Field
- Add in a name for your custom field
- Rrite a description for additional relevant information about the custom field
- Choose which Section the custom field will be assigned to
- Determine whether there should be a default value in the field initially, otherwise left blank
- Determine the position of the field within the specified selection (ie the above screenshot the 'date' custom field is in position 6)
- Set whether a value is mandatory for this field

Inserting Custom Field's into Templates
- Primary: <[Client.Custom.NAMEOFCODE]>
- Spouse: <[Spouse.Custom.NAMEOFCODE]>
- Group: <[Group.Custom.NAMEOFCODE]>
Related Articles
Task and Workflow Configuration - Task Templates
This section of AdviceOS allows you to create templates for any tasks you want your office to have available. Once a task template has been designed and saved here, it will be accessible for your staff to use for any clients as required. These tasks ...New Configuration - Client Folders
Overview This area of AdviceOS allows you to add and name new folders and sub folders for document storage within Client Records. This ensures that each client has the same folder structure for easy access to documents and consistent management. At ...New Configuration - Email Template Management
Creating email templates This section allows you to create and edit notifications and email templates. Navigate to Settings / New Configuration / Email Template Management to start creating your own templates. 1) Choose the owner of the template You ...New Configuration - FSG and Privacy Policy
FSG management and version control is typically controlled at the licensee or practice level. This configuration functionality allows permission to users to track and control the version being used by a practice and ultimately the versions provided ...New Configuration - User Email Signatures
Accessing Email Signature Page Hover of the main menu (1), hover over settings (2) and select User Email Signatures (3): When first entering this tab the page will appear like so: Inputting Your Email Signature into AdviceOS First select the user you ...